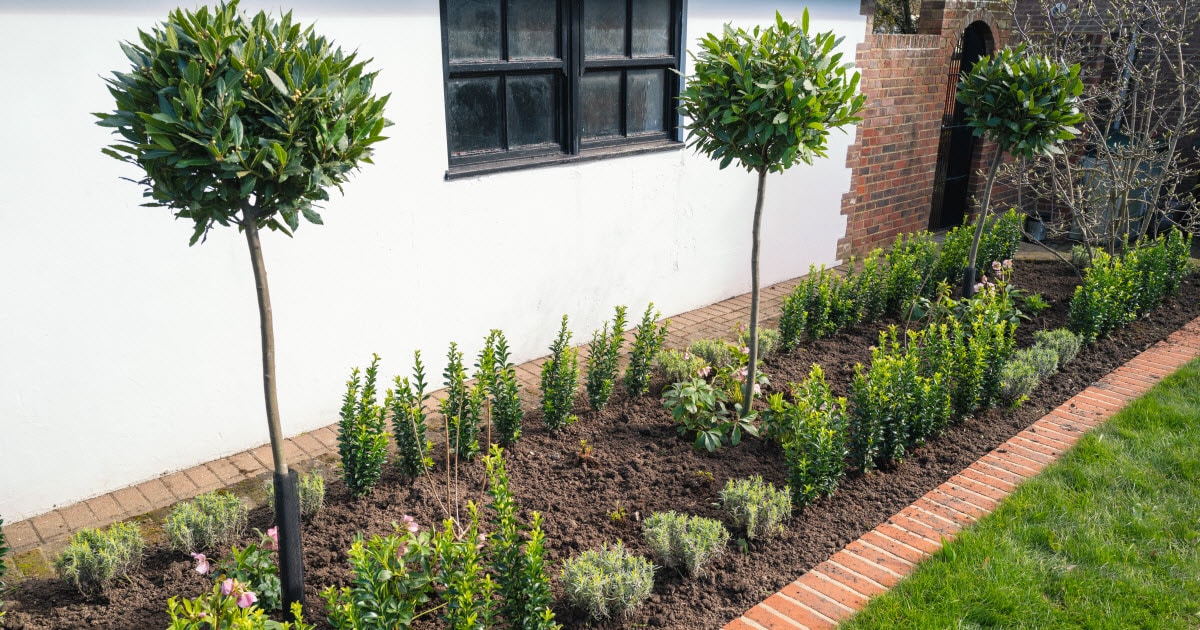
Part of making your perennial beds pop is having clean separation between your lawn areas and your garden. Creating landscape borders is a great way to elevate your garden’s look, and add curb appeal to your property. There are a number of different options and ideas you can use, and today I’ll explore how to separate grass from flower bed areas to cut down on maintenance and improve the look of your property.
I’ll explore some traditional garden edging options today. These will include manual edging, edging with an electric, or gas edger, as well as using physical barriers (wood, stone, or plastic edging) to stop grass from getting into your garden bed and keep your lawn and garden separate.
Let’s start with the basics.
This article was last updated on by Lawn Chick Owner Sarah Jameson
Article content reviewed for accuracy by Certified Horticulturist Nicole Forsyth, M.S.
The Best Time to Edge Your Lawn
The best time of year to put in landscape borders is the spring, though fall can also be a good time to edge your lawn and garden beds.

In the spring you’ll have to take special care around perennials that haven’t sprouted yet (be sure you know where they are), and if you tackle this project in the fall, do it at the same time you cut back your perennials and mulch your garden for a really satisfying end-result.
Some of the most common types of materials used for creating physical landscape borders include:
- Wood
- Stone
- Old bricks
You might even find that you already have some of these materials around your property, eliminating the need to buy anything special for the project.
One of the reasons physical barriers are a great choice is that many types of lawn grass spread laterally via rhizomes (underground runners). A physical barrier set down into the soil can keep your lawn from creeping into your garden.
| LawnChick.com is reader supported. If you make a purchase after clicking a link, I may earn a commission at no additional cost to you. |
My Top Tip – Add a Mowing Strip for Ease
You can use a mowing strip or mowing border (sometimes called mow-over lawn edging) to separate your flower bed from the lawn.

Personally I love this, and have it in several areas of my property. You basically dig out the turf at the edge of your bed and set your edging into that space before backfilling.
With your edging flush with the turf of your lawn you can ride two of your mower’s wheels along the edging as you mow around your garden. This allows you to easily mow right up to your garden bed without issue.
It saves you a lot of time with the string trimmer, which is a huge plus in my book. Taking that out once a month instead of once a week is a win.
How to Plan the Separation Between the Flower Bed and Grass
Here’s the steps you’ll need to take to plan out your edging and get it installed.
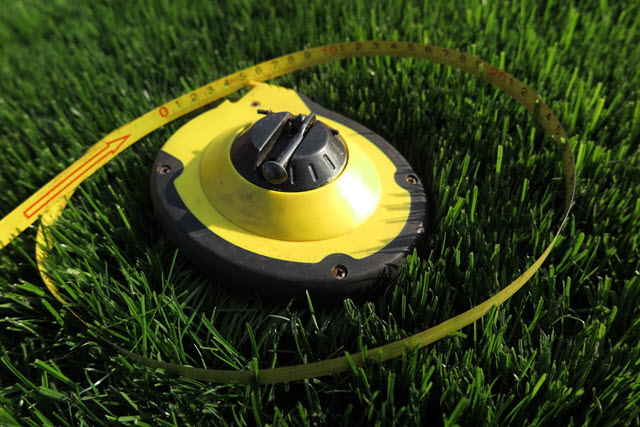
Measure the Length of Your Edging
If all it takes is a straight line to separate your flower bed and grass, measuring will be quite easy. When dealing with a curve or curves, however, you can outline the area with a rope (I usually use a garden hose). When you have the end of your edging run marked on the hose or rope, straighten it out and take your measurement with a tape measure.
If you will be using bricks or pavers as a separator, measure the length of one of those stones. Next, divide the length measurement you got earlier with the length of each piece of edging.
This will give you an idea of how many bricks you will need. If you’re ordering bricks, it’s safe to get several extra, just in case your measurement was a bit off.
So, for example if you have a 30 foot garden bed you’re hoping to edge with 7″ pavers, you would take the length (30 feet x 12 inches per foot = 360 inches) and divide by 7. This gets you 51.42 pavers, and if it were my project I’d plan on buying 55 pavers in case some get damaged, or in case I need to replace one or two in the future.
Most people will tell you to order an extra 10%, but I usually find that for a project like this a couple of extras is all you need.
Plan the Style of Edging with Your Plants
When deciding on the kind of material and the color of the material you will use for your border, consider the colors of the flowers and foliage in your garden, the color of your home, and what the general style of the space is.

Choose something that will be a natural fit with the style of your landscaping, this will allow your lawn and garden to both “pop” and create a cohesive landscape design.
Dig a Trench to Lay Edging
Before you put in your edging material, you will need to dig a space for it in the soil. You can usually use a garden spade for this, as it will be effective at breaking through the turf and soil. If you need to create a trench in a wider area, you may need a different kind of shovel, or you may want a rent a trench cutting tool.
You should dig a trench that extends about three inches wider on both sides of where you will put your stone or brick border. This is important for you to be able to secure your stones or bricks in place.

Nicole Forsyth, M.S., a certified horticulturist and member of our expert panel adds that you should try to “anticipate the growth of your shrubs and bedding plants. If you would like to encourage your perennials to grow and fill in more space, or allow for growth of your shrubs (especially if you have a relatively new planting), then you should set your border stones out farther so you do not have to move them years down the road or lose them to an overgrown shrub.”
When you dig out this soil, make sure to set it aside. It will come in handy when you need to fill in the holes on each side of the edging material after it has been put in.
I like to keep it right on my lawn, and once the project is done I can easily shovel it in and any remaining soil can be raked over the lawn as a light top-dressing. Some people prefer to keep things cleaner and they will use a tarp.
Remember to Use an Edger
You’ll need an electric or gas edger when cleaning the line of grass from around your flower bed.
For smaller garden and lawn edges, a manual edger can work well too.
An edger is designed to create a distinct, clean line by cutting through the turf and preventing your grass roots from spreading laterally into the garden bed. It also will help the different components of your garden and lawn look neater and more professional.
Types of Materials You Can Use for Garden Borders
There are many different materials that you can use for the border separating your flower bed and grass.
You can simply cut a deep trench in the soil, or you may use stones or bricks to create a permanent physical barrier.

There are many more options to choose from. You may also use:
- Stones,
- Steel,
- Wood,
- Concrete, or
- Plastic
If you’re widening the garden and need to make a new edge, you can use your spade or edging tool to cut. You can dig down and lift up the turf. This will be necessary for a clean edge.
Add some mulch to your garden at the end of this project to make weeds less likely to become a problem.
Using Bricks or Rocks for Edging a Flower Bed
If you’d like to edge your flower bed with bricks, there are a few ways that you can do this. One way is to simply lay them down flat on a bed of sand within a trench that you dig, then back-fill with soil around the bricks to keep them in place.
You can also mix up some mortar and lay them in a mortar bed to make the installation more permanent and to keep weeds from growing up between them.
Many people prefer rocks for bordering areas such as backyard shade gardens and woodland gardens. This type of installation can offer a more natural look. Be aware, that weeds are often a problem with rock borders. You will have to weed this area manually or spray it periodically to knock down the weeds.
Using Poured Concrete for Edging a Flower Bed
If you want an especially tidy edge around your flower bed, you could consider using poured concrete. This option is extremely permanent, and takes a little more skill to do well if you’re planning to DIY your project.
If you use a poured concrete border, you should make sure it is very low and flush with the surface of the ground. In fact, it should extend no higher than a single inch above the grade of the ground.
If you want to make the border have more visual interest, you can use special molds, or you can embed river rock or other decorative stone in the top of the concrete as it begins to set.
One drawback to concrete edging, cautions horticulturist Nicole Forsyth, is that “you can’t move it like you can bricks if you ever wanted to expand the bed.”
Keep that in mind before you choose this option.
PVC and Plastic Edging
If you go with PVC or plastic, make sure you choose a quality variety. It’s quite easy for this kind of edging to look cheap, but part of the reason is that it is cheap and it’s easy to replace on a budget as it begins to get tired and worn out.
Another advantage is that PVC and plastic edging is very easy to find in hardware stores or your local big box store. In fact, it’s generally the easiest edging to track down and use.
While this kind of edging will usually keep its shape, it’s actually quite tricky to install well. It’s also not very durable. You shouldn’t expect this edging to last for especially long periods of time.
I like to use it at the back of my garden border so the pea gravel I have against my foundation for drainage remains separated from my mulched perennial beds. I know at the front of my garden beds it wouldn’t hold up as well as I’d like.
About Using Landscape Timbers for Your Garden Bed Edges
Another inexpensive alternative is using pressure-treated landscaping timbers from your local box store. These will actually last a long time, it’s easy to cut them and install them properly, and the look can be great.
One of my favorite YouTubers, John Lord (from Ireland), uses them throughout his amazing garden and I love the look. You can see a quick demonstration about how he creates curved borders from pressure treated timbers here:


